
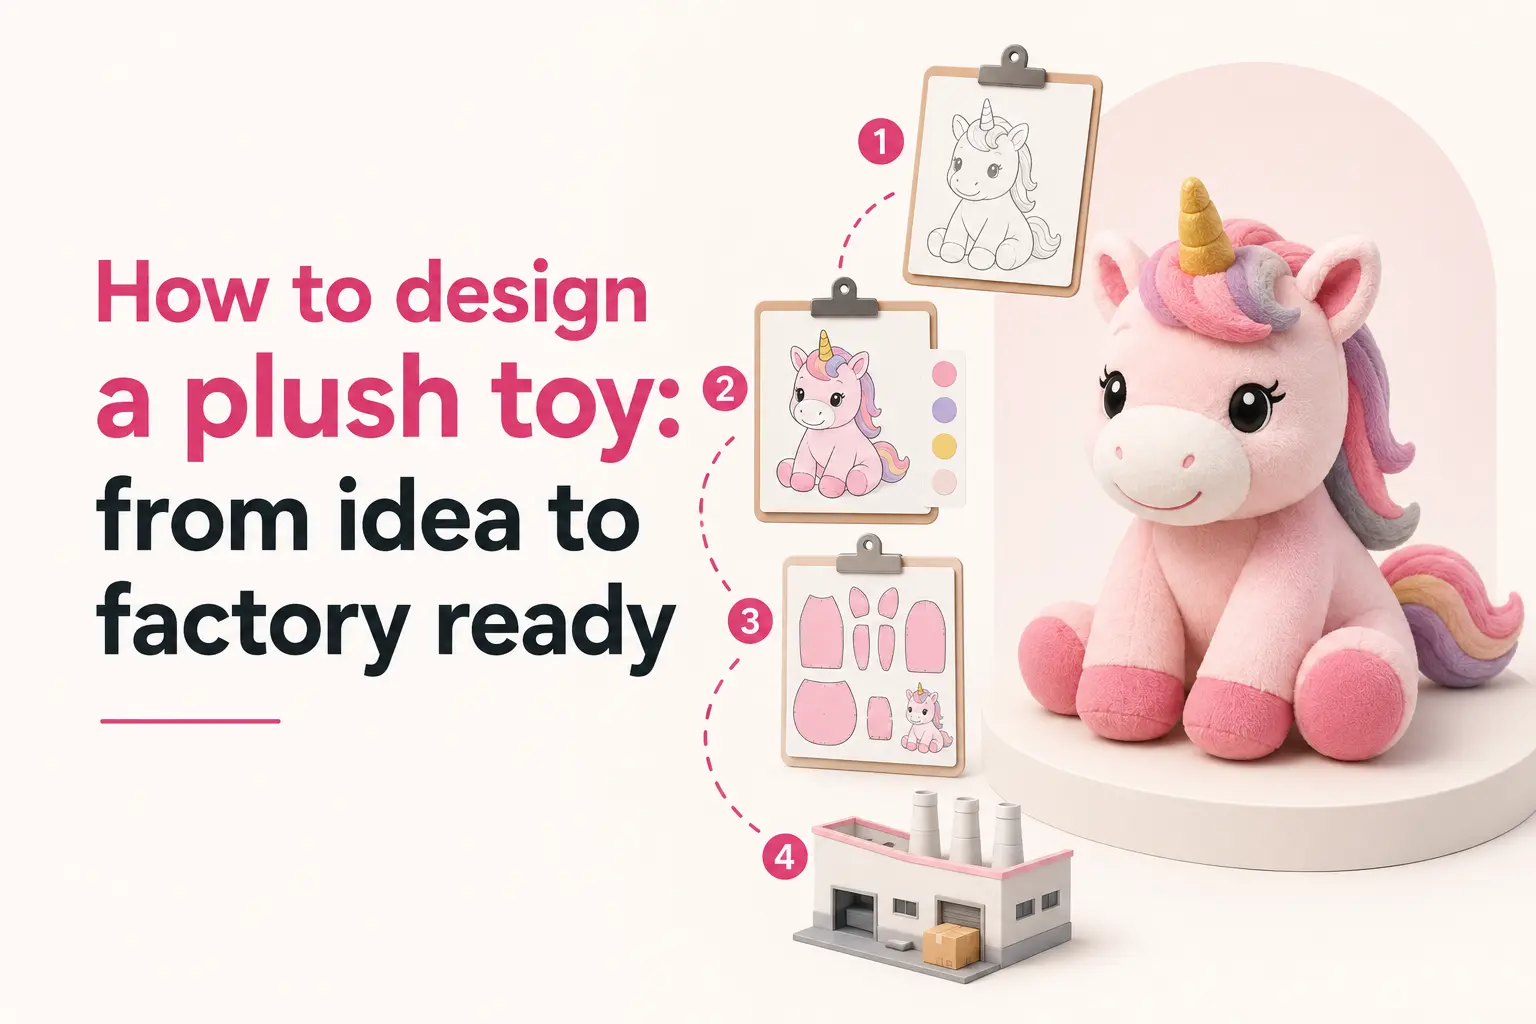
Designing a plush toy means turning an idea or a drawing into a clear set of instructions a factory can sew from: reference art that shows every side, exact colors, defined proportions, and notes on materials and features. You do not need to be an artist or know how to sew. You need to give a manufacturer enough visual and written information that they can draft a pattern and make a sample that matches what you pictured. This walks through how to get from a concept to a factory-ready brief, and where first-time designers usually go wrong.
The gap most people hit is between “I have an idea” and “the factory understood it.” A plush is a three-dimensional object built from flat panels of fabric, and the more your brief leaves unanswered, the more the factory guesses. Good design work up front is really just answering those questions before they are asked.
Start with the concept and how it will be used
Before any drawing, decide what the plush is for, because that shapes every later choice.
Ask yourself:
- Who is it for? A young child, an adult collector, a pet, a corporate gift. This drives size, safety, and detail.
- How will it be used? Cuddled, displayed, played with, chewed. A shelf collectible and a toddler’s toy are built differently.
- What is the budget and quantity? This decides how complex you can afford to make it and whether it is a one-off or a production run.
These answers prevent expensive mistakes later, like designing a detailed collectible and then discovering it has to pass toddler safety rules, or drawing something so complex it blows the budget at your quantity. Design within the constraints from the start.
Create clear reference art
Reference art is the heart of the brief, and its quality decides how close the first sample lands. You are giving the factory the visual instructions for the pattern.
The strongest reference includes:
- Multiple angles. Front, back, and side at minimum. A plush is seen from every direction, and a single front view leaves the back and sides to the factory’s imagination.
- A turnaround or reference sheet if the plush is a character. The same character drawn from several sides, the way character designers work, is the single most useful thing you can provide.
- Clear proportions. Show how big the head is relative to the body, how long the limbs are, how the shape sits. Plush exaggerates proportion, and a factory needs to know your intent.
- A pose. Standing, sitting, arms out or down. Pose changes the whole pattern.
You do not need professional art. A clean, clear drawing, even a simple one, beats a polished image that only shows one angle. If you are working from a photo or a child’s drawing rather than a designed character, the same rule holds: give as many angles and details as you can. Our guide on turning a photo or drawing into a plush covers that starting point.
Nail down colors and materials
Color is where briefs quietly fail, because screens and drawings lie about it.
Specify colors precisely. If a color matters, give a Pantone reference, a physical swatch, or a clear named target rather than “blue.” A factory matching fabric to “kind of teal” will guess, and the guess may not be yours. Fabric color matching is one of the more common reasons a first sample looks off.
Decide the material feel, too. Do you want the short, dense pile of minky, a longer shaggy fur, a smooth fabric, or something textured? Different fabrics suit different designs, and naming the feel you want keeps the factory from defaulting to whatever is cheapest. If you are unsure, ask the factory for fabric swatches before sampling.
Know what survives as plush, and what does not
This is the step that separates a designer who gets a clean first sample from one who fights through five rounds. Plush is a soft, rounded, low-detail medium, and design elements that look great on paper do not all translate.
What plush handles well:
- Bold shapes and clear silhouettes
- Flat blocks of color
- Simple, recognizable features
What plush handles poorly:
- Fine detail, thin lines, and small text, which turn muddy at plush scale
- Sharp points and thin, floppy limbs, which have to become sewable, stuffable forms
- Photorealistic faces and subtle expressions
The fix is to design for the medium. Enlarge or simplify small details, move fine artwork like text or a complex logo to an embroidered patch, and thicken anything too thin to stuff. How your design’s features get applied, sculpted into the shape, embroidered, printed, or appliquéd, is a real choice, and our breakdown of embroidery vs. print vs. appliqué explains when each works. A good factory will flag what needs adapting; expect that as help, not criticism.
Turn the design into a factory-ready brief
Once the concept, art, colors, and materials are set, package them into something a factory can quote and sample from. This is sometimes called a tech pack or spec, but for a first design it can be simple.
Include:
- Reference art from multiple angles.
- Target finished size, with real measurements.
- Color callouts, with references or swatches.
- Material and fabric notes, including the feel you want.
- Feature notes: embroidered eyes, a sound module, a specific accessory, safety requirements.
- Quantity and any budget or timing constraints.
The clearer this package, the faster and more accurate the quote and the first sample. A vague brief produces a vague sample and more paid revision rounds. If you want to see how professionals read this kind of document, our guide on how to read a plush toy spec sheet shows what the finished version looks like.
From brief to sample: expect to refine
Designing does not end when you send the brief. The sample stage is where the design becomes real and gets corrected.
The factory drafts a pattern and produces a prototype from your brief. You compare it to your intent and give specific, prioritized feedback: “the head is too small, the ears sit too low, this color is too dark.” Expect at least one revision round, and two or three for a detailed design. The approved sample becomes the benchmark for production, so it is worth getting right rather than rushing. For a full view of timing and revisions, see how pre-production plush samples are made.
Once your design is set and you are ready to produce, the guide to ordering custom plush covers how cost, minimums, and lead times work.
Frequently asked questions
Do I need to be able to draw to design a plush toy?
No. You need clear reference showing every side, exact colors, and defined proportions. A simple, clear drawing from multiple angles beats a polished single-view image. If you cannot draw at all, a factory can work from photos or detailed descriptions, though more reference always helps.
What is the most important part of a plush design brief?
Reference art from multiple angles, followed by precise color callouts. Together they answer most of the questions a factory would otherwise guess at, which is what keeps the first sample close to your intent.
Why do small details disappear on a plush toy?
Plush is a low-detail medium with limited surface to render fine elements, so thin lines, small text, and intricate patterns turn muddy. Enlarge them, simplify them, or move them to an embroidered patch so they stay legible.
How do I specify colors so the factory gets them right?
Give a Pantone reference, a physical swatch, or a clearly named target rather than a general color word. Screens and drawings distort color, so a precise reference removes guesswork and reduces sample corrections.
How many sample rounds should I expect after designing?
At least one, and often two or three for a detailed design. The sample stage is where the design is refined into the final product, and the approved sample becomes what production is built to match.
Designing a plush people recognize
A good plush design is really a good set of answers: what it is for, what it looks like from every side, exactly what colors it uses, and which details need adapting to work in fabric. You do not need art skills, just clarity. Design within your size, budget, and safety constraints, give the factory complete reference and precise colors, simplify what the medium cannot hold, and treat the sample rounds as part of the design rather than an afterthought. Do that and your idea becomes a plush that matches what you had in your head.